The Project
The genesis of the idea
The first idea for the project was to create a portable swing with hooks to append it to a tree branch. Unfortunately I couldn't manage to come up with an idea for a modular pattern able to evenly distribute the forces applied by the weight of an adult person. Considering the constraint on the maximum thickness of 1mm, I thought that it would have been too ambitious given also the short time to finish the prototype and thus I decided to explore other alternatives that exploited better the characteristics of the given material (AllPHA).
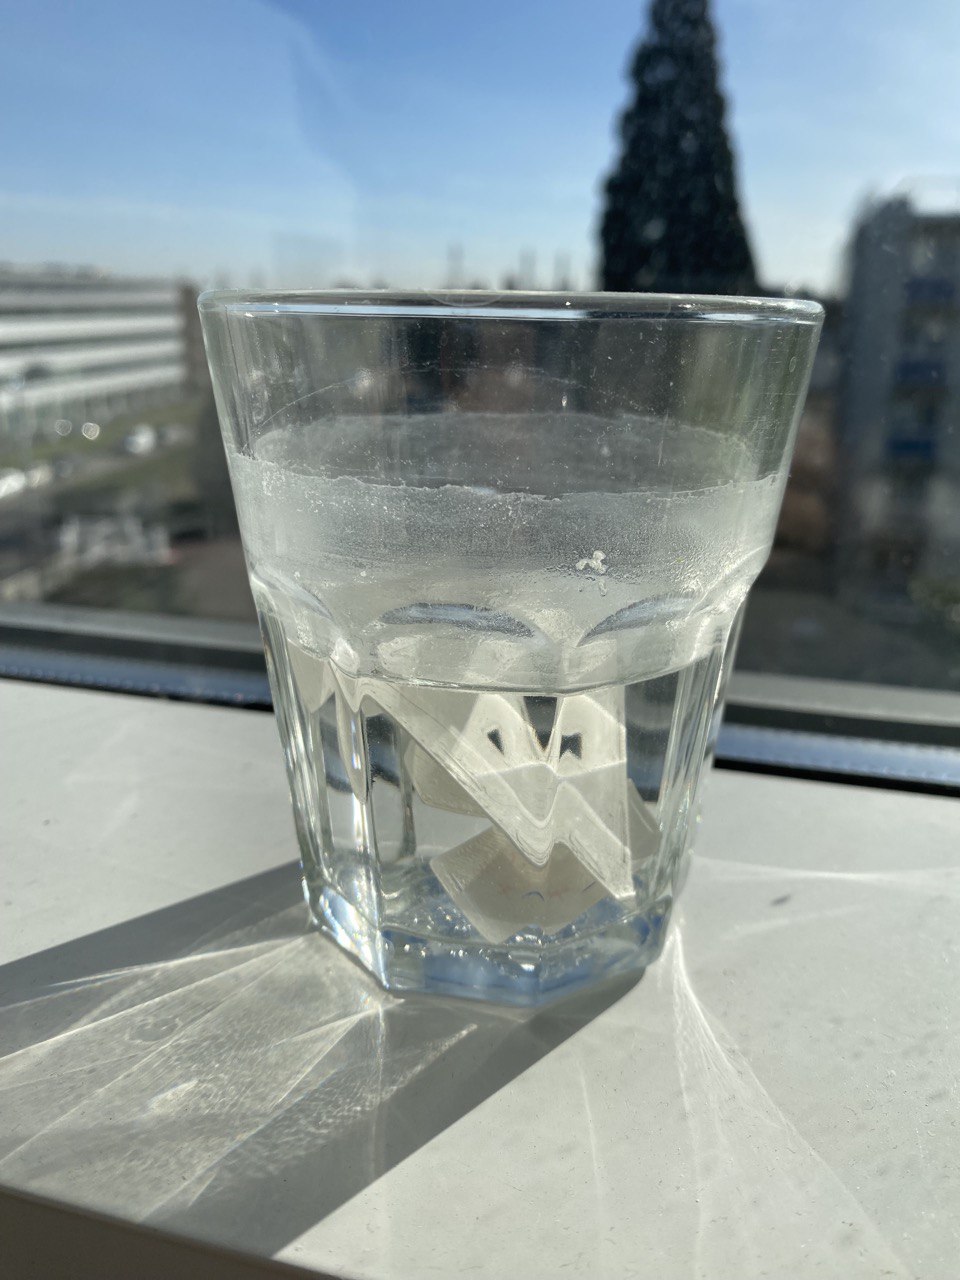
One of the characteristics of the material that I really wanted to explore is its ability to biodegradate. Since it's not clear the time required to complete the degradation process, I started running some experiments placing pieces of different thickness (and printed with different temperatures) in a glass of water exposed to sunlight and some other pieces with the same characteristics buried under muddy ground.
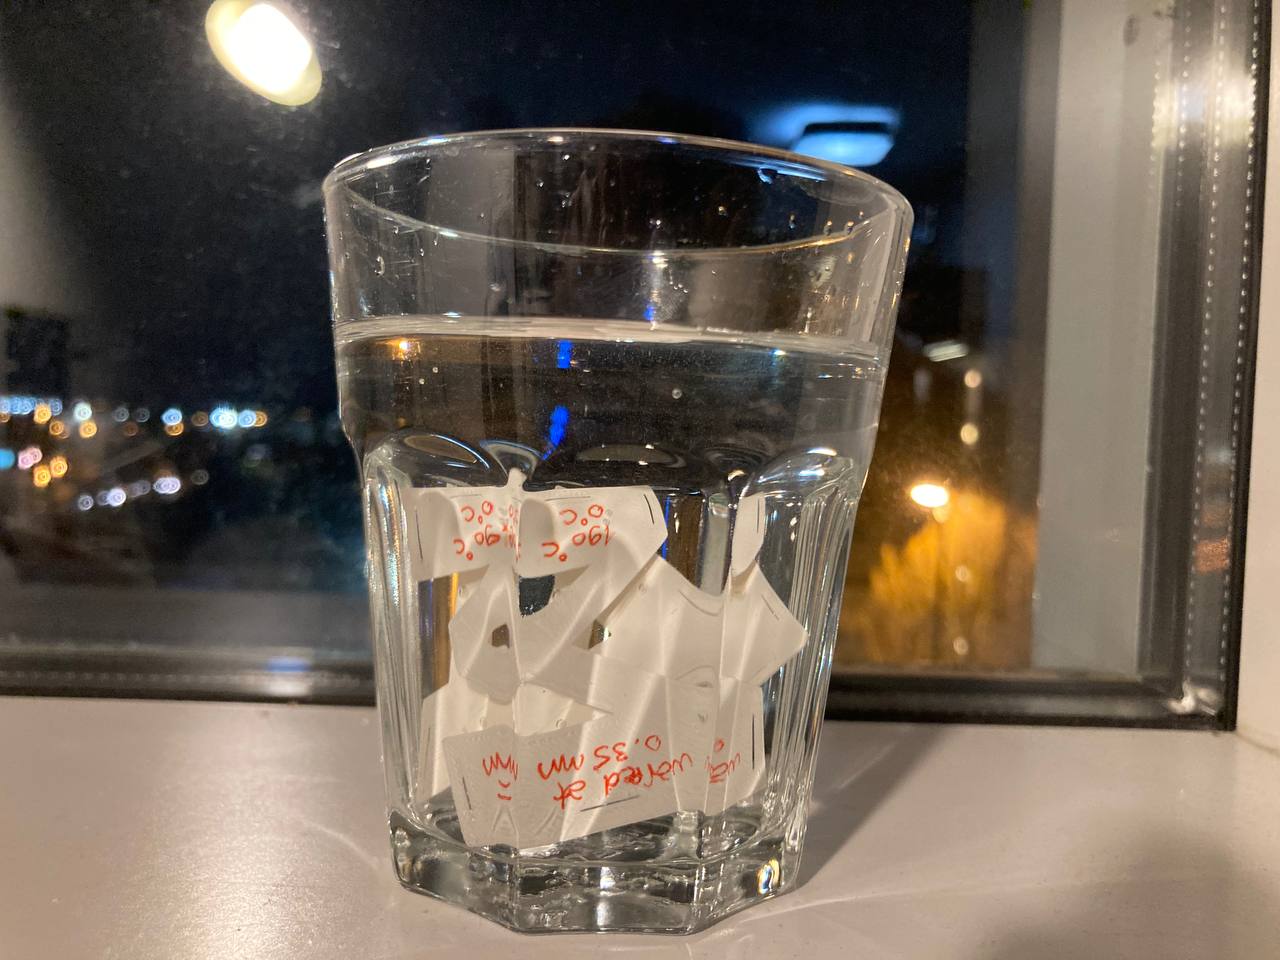
Picture of the ongoing experiment in water, day 1
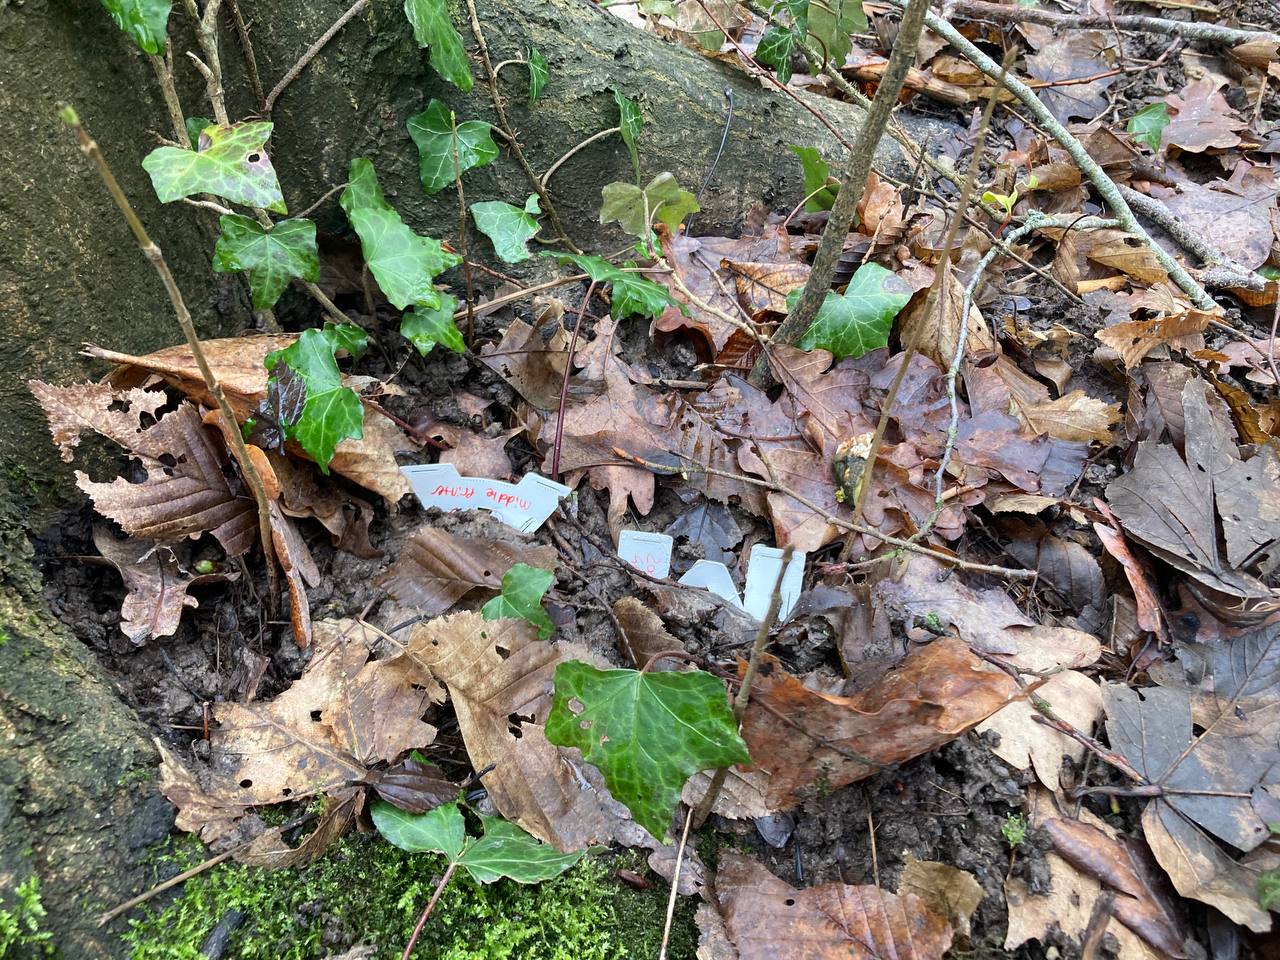
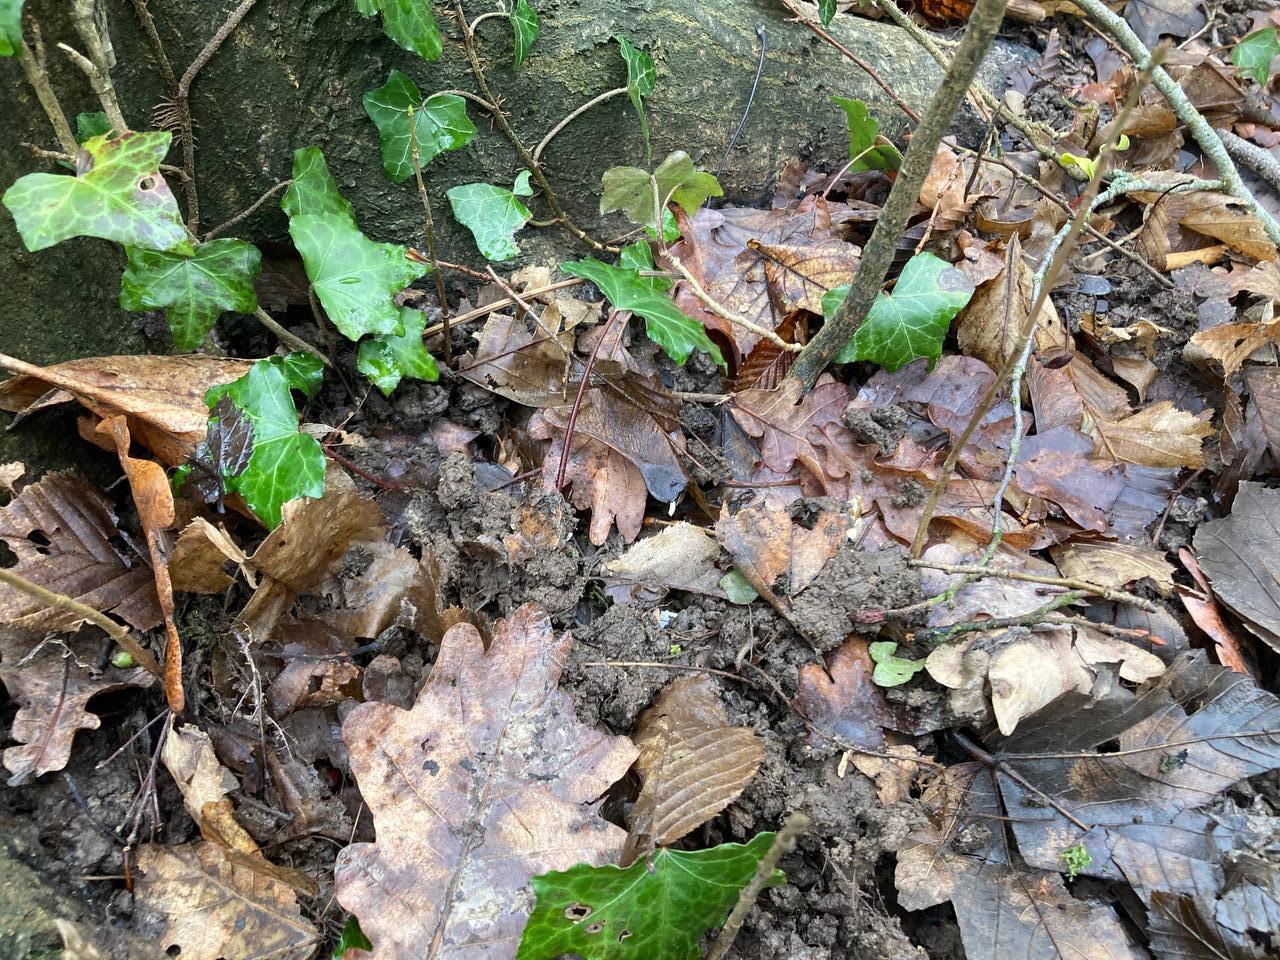
Pictures of the ongoing experiment in soil, day 1
While the experiment goes on by itself (I guess it would require at least 3 or 4 weeks to see some noticeable degradation) I decided to exploit the aforementioned property of the material designing a little bucket that birds can use as a structure to build their nests on. Unfortunately, I think I'll have to wait till april or may to try to place the first prototype on a tree, since, according to my researches, birds don't usually build their nests during winter.
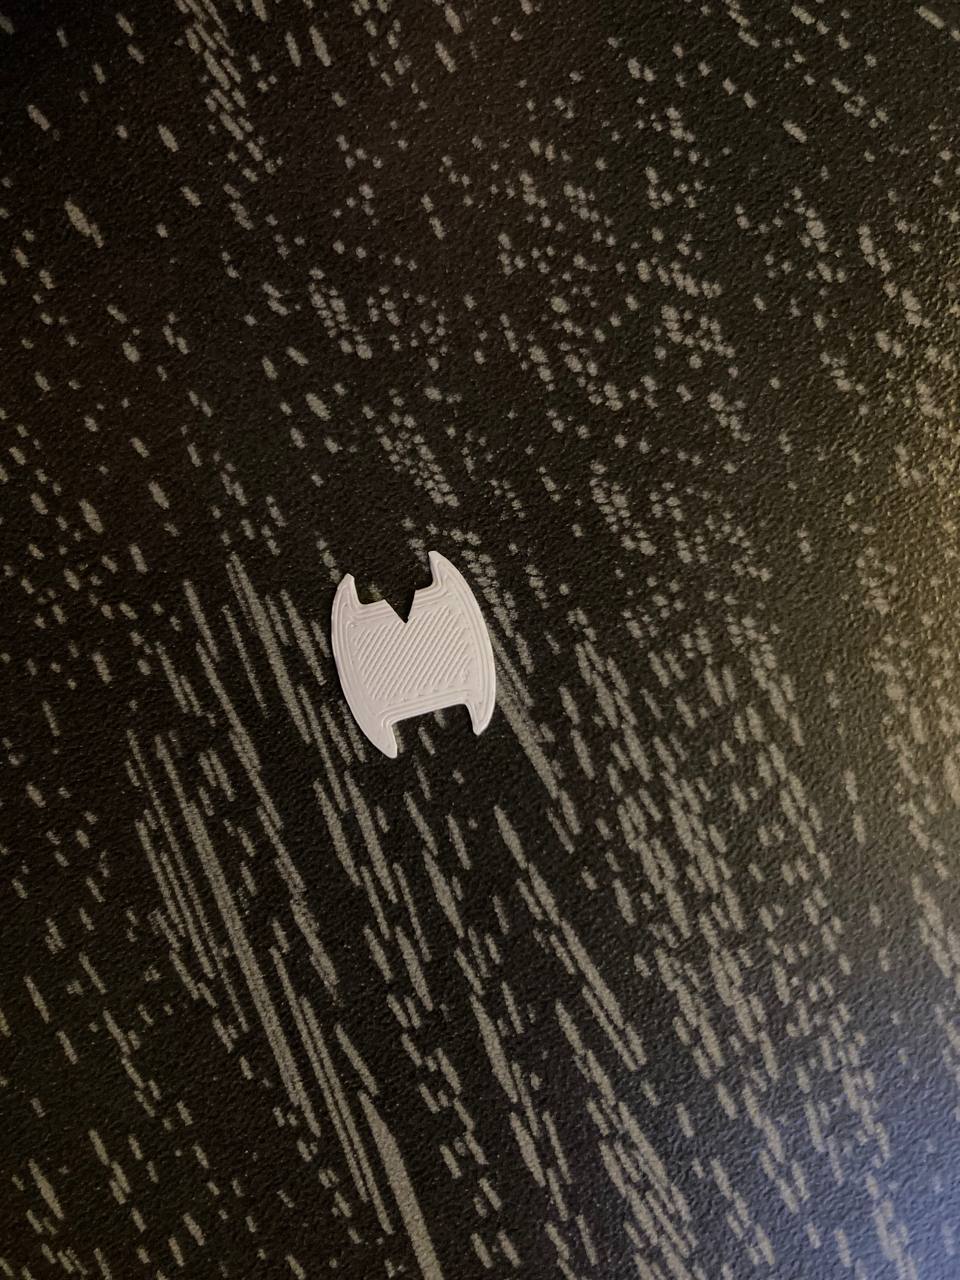
The design of the modules is composed of the initial letters of my name: M and A, they should be designed in a way that makes them easy to link in various poisitions depending on the final desired shape.
The software
I decided to design the whole prototype using Tinkercad® since I've had previous experiences with this software. Moreover the project has to be completed in only seven weeks, so I thought it was a wise idea to focus more on the printing process rather than on learning a new tool to design the models.
1st week
The design
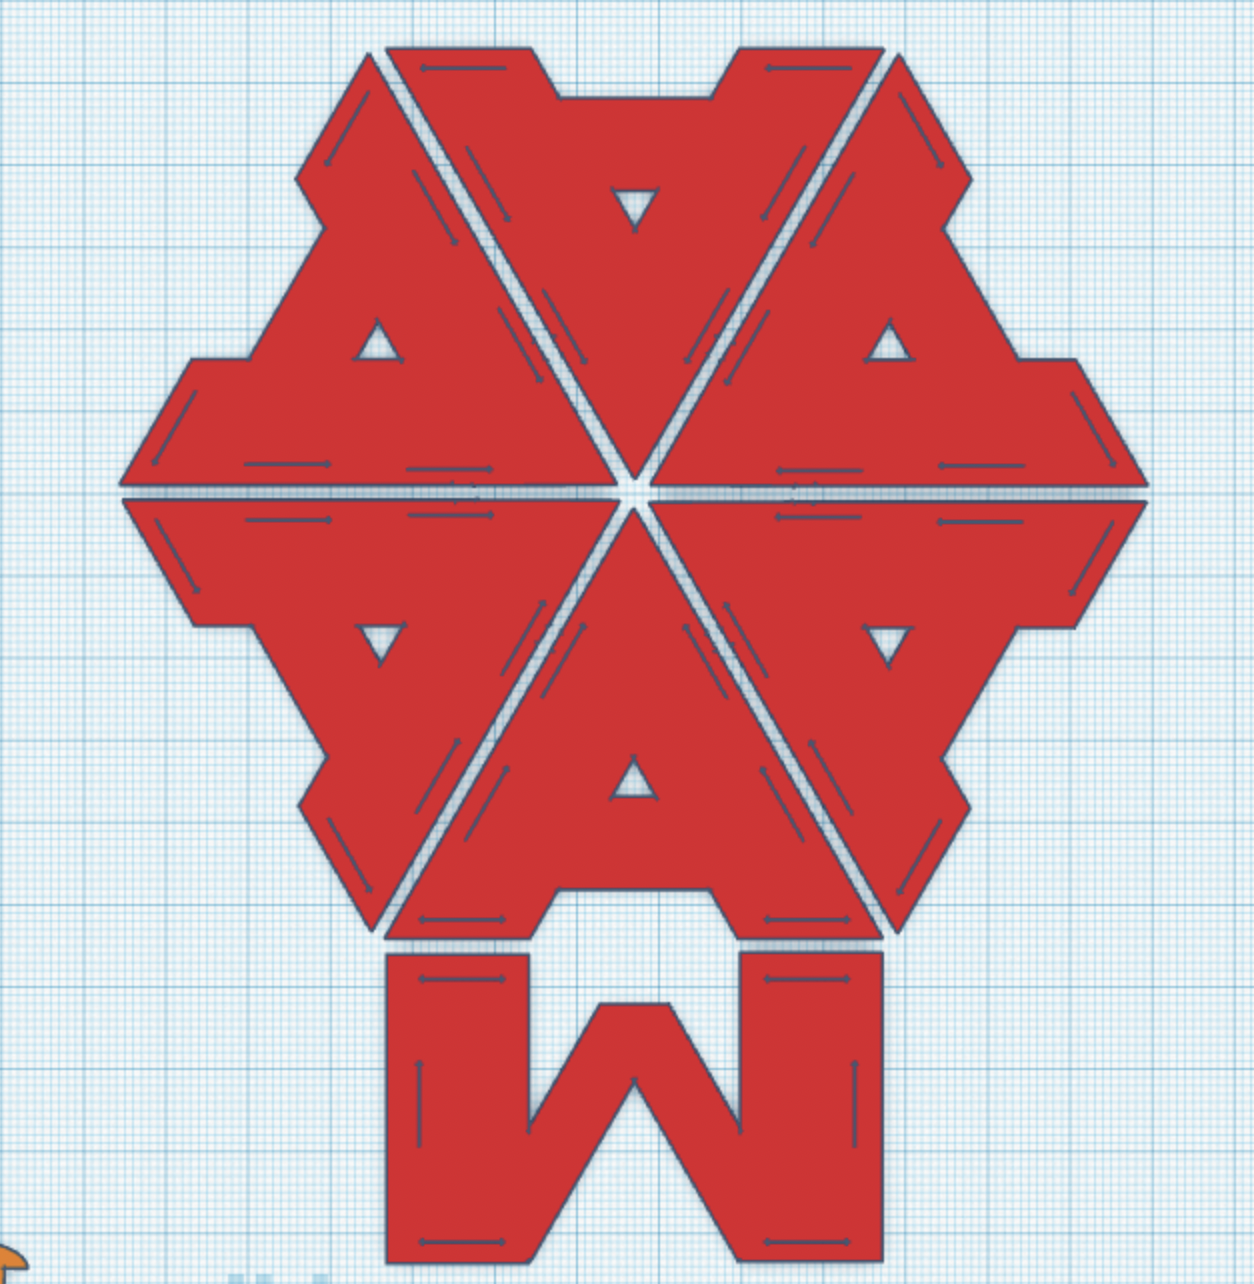
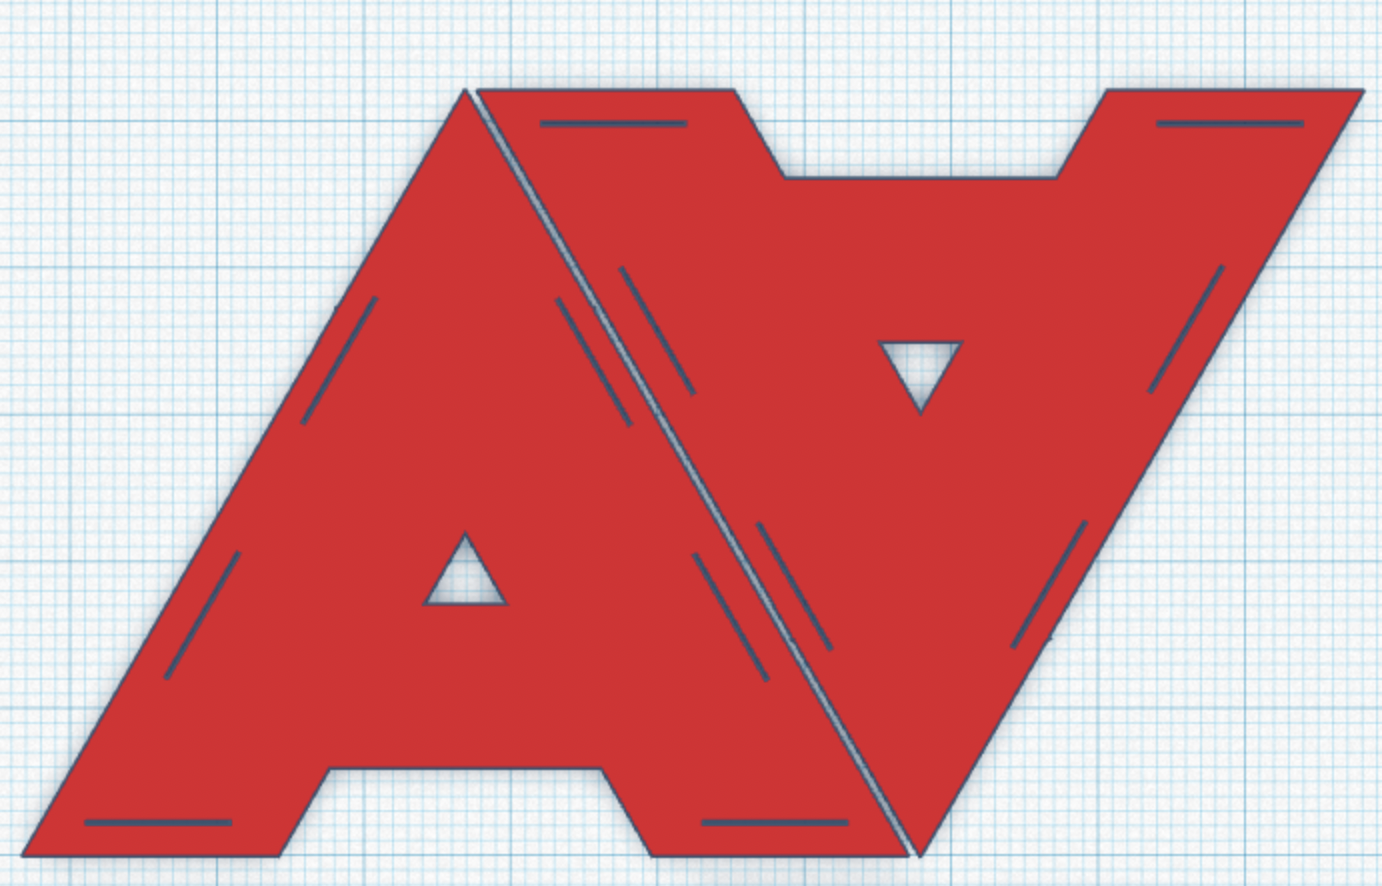
The first design featured an A and an M linkable as shown in the next image:
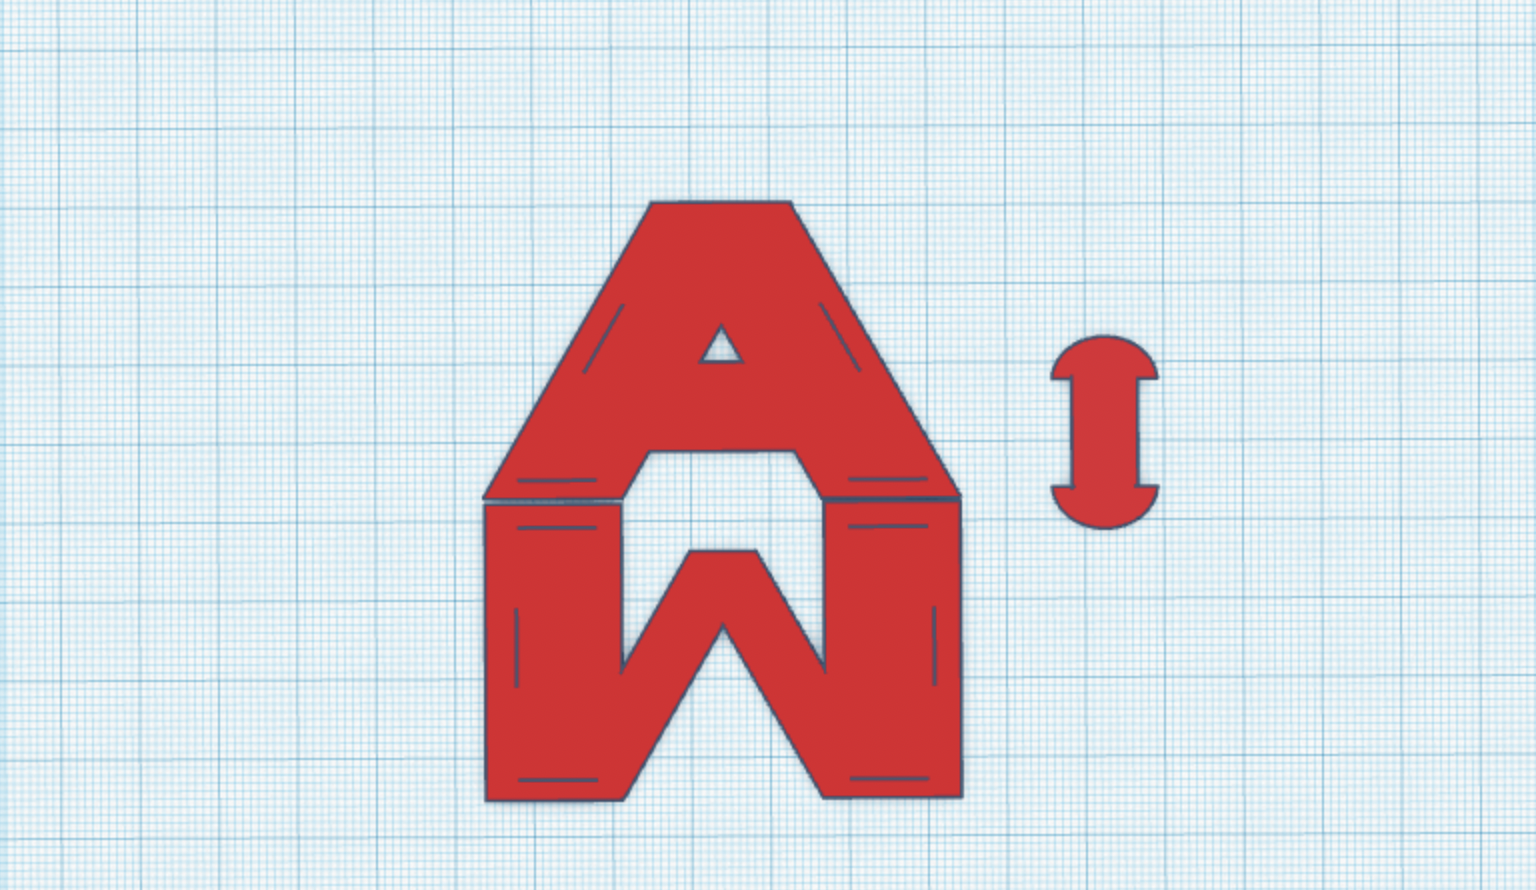
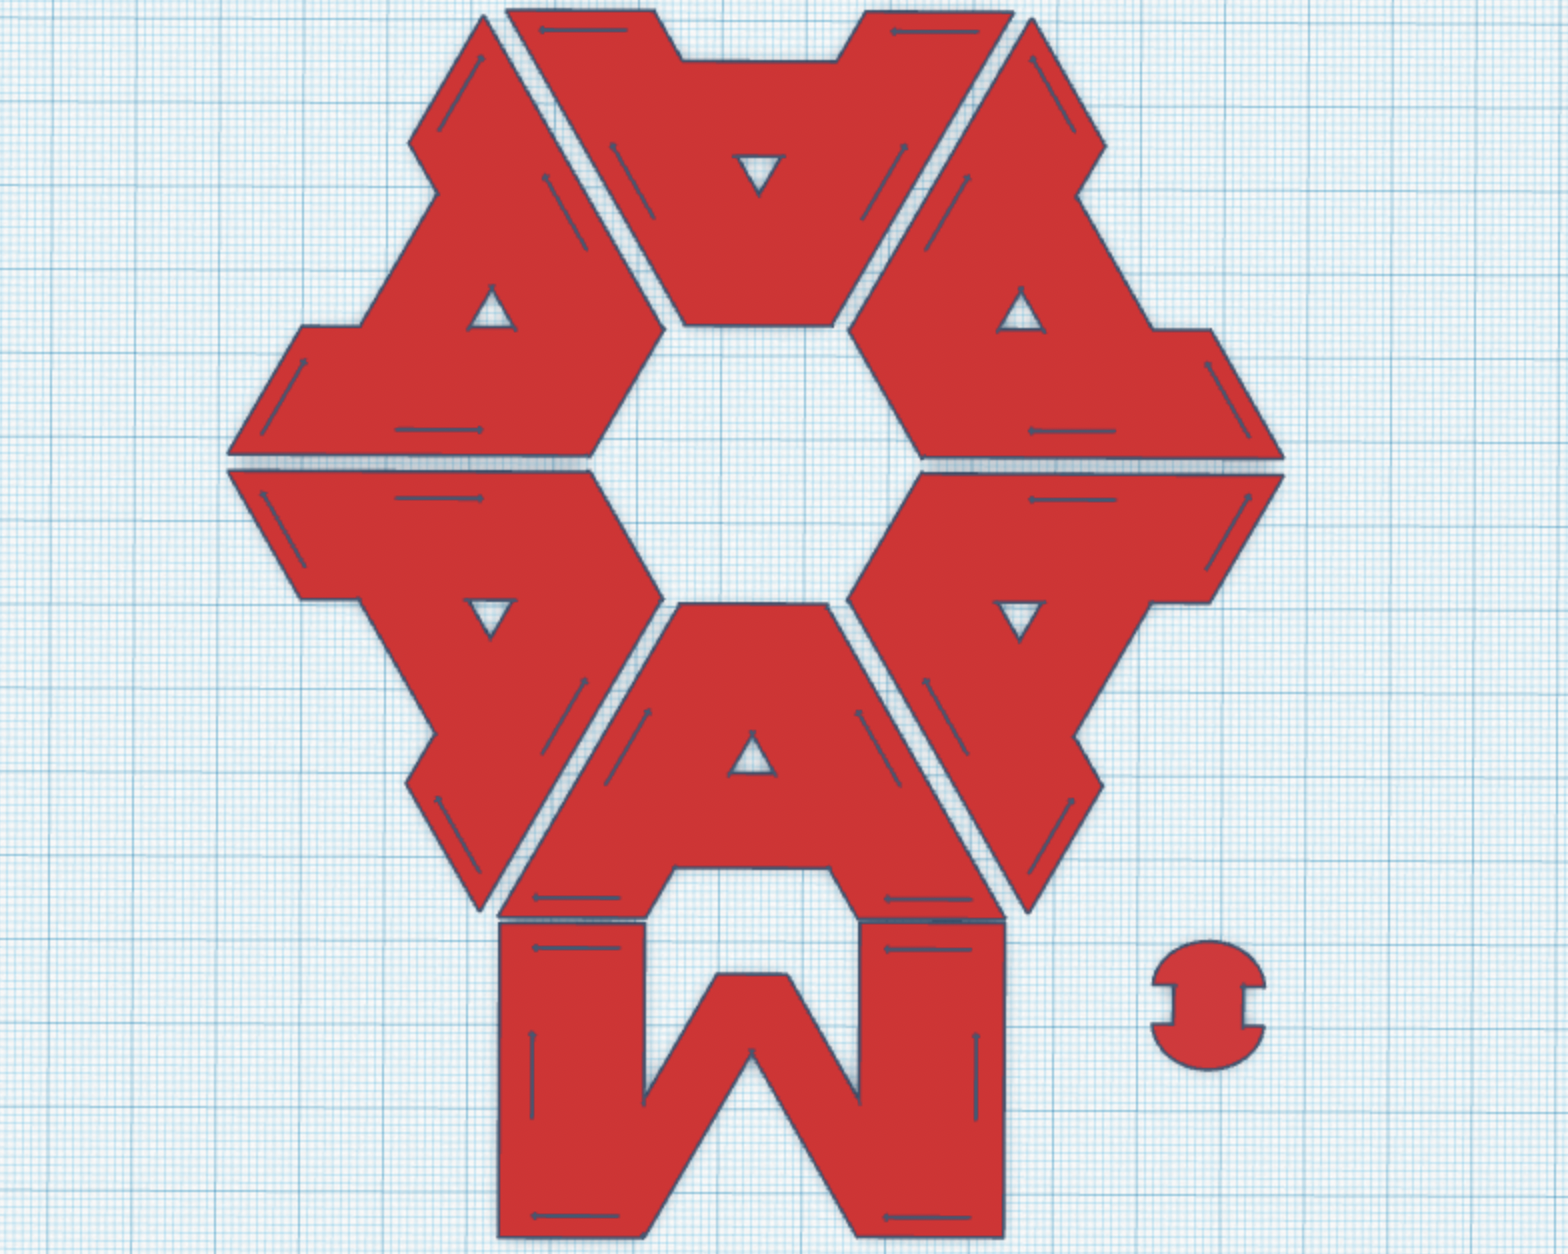
As soon as I started to place the pieces as I imagined them, it was clear that this design of the A left a big hole in the center of the circle, so I proceeded with the next iteration of the design solving the issue and adding a second linking hole, making the whole structure stronger.
First prints and experiments with temperature and thickness
For the first try I decided to print with the maximum temperature suggested by the filament manufacturer: 200°C. Unfortunately the print suffered a severe warping and I was forced to stop it at around 4mm of thickness.
Every cloud has a silver lining
This problem actually led to an interesting discovery! The pieces that i planned to print with 1mm thickness were actually perfect with a thickness of ~0.5mm! The balance between strenght and flexibility seemed amazing for my project.
I still have to understand the right settings to fix the warping problems but it seems like, overall, this road is the right one.
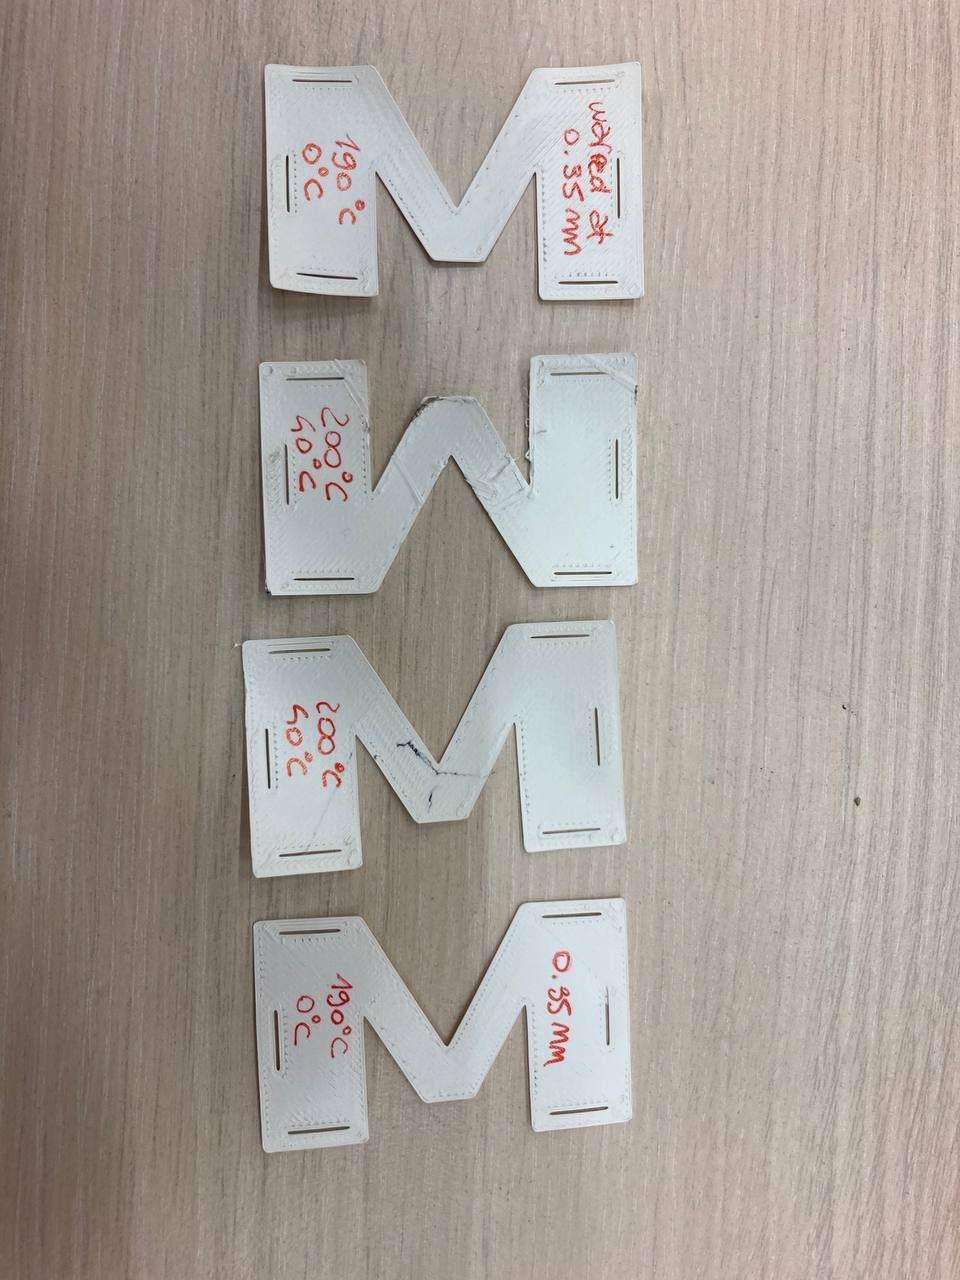
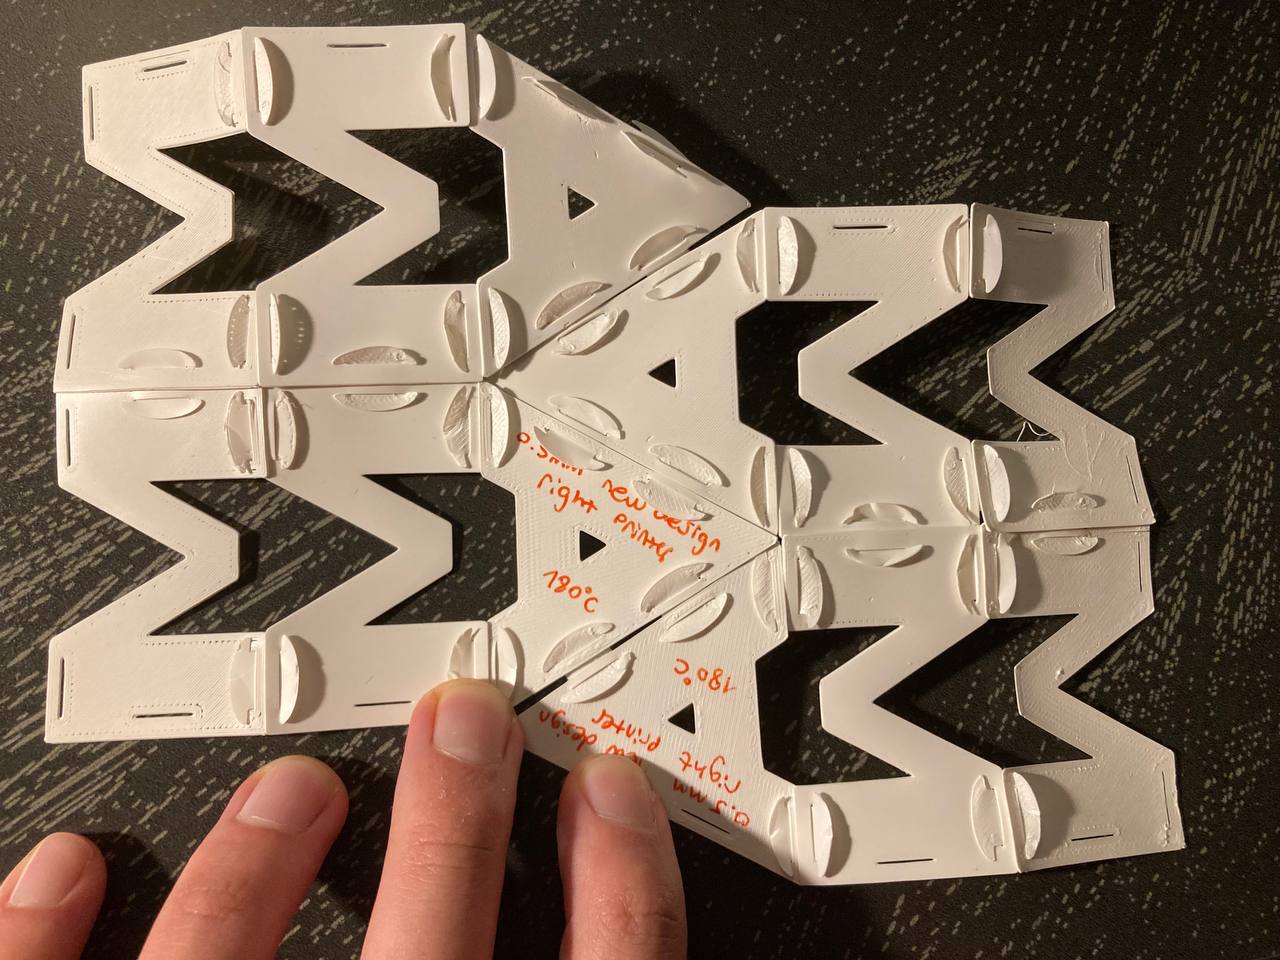
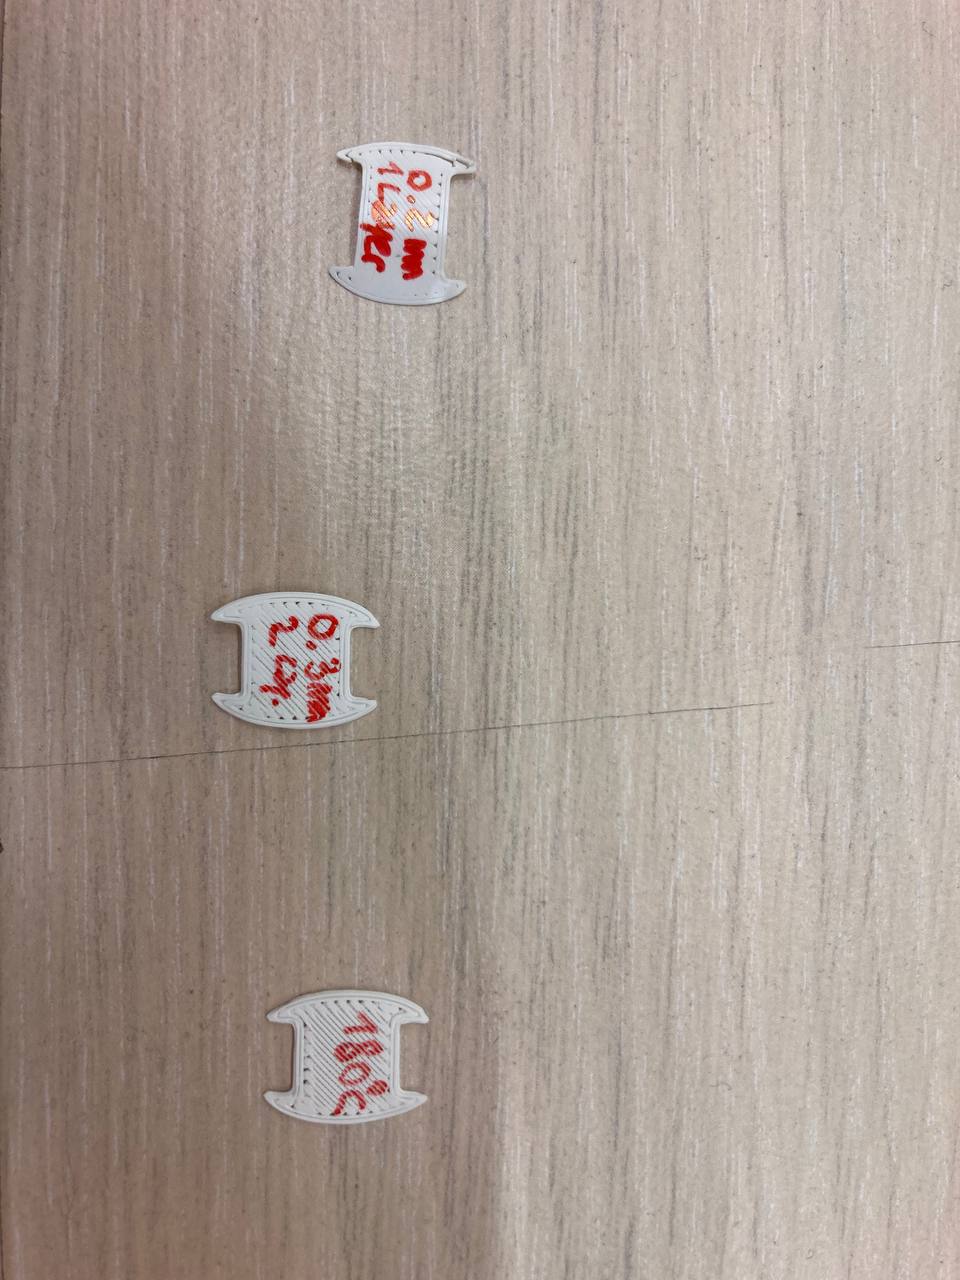
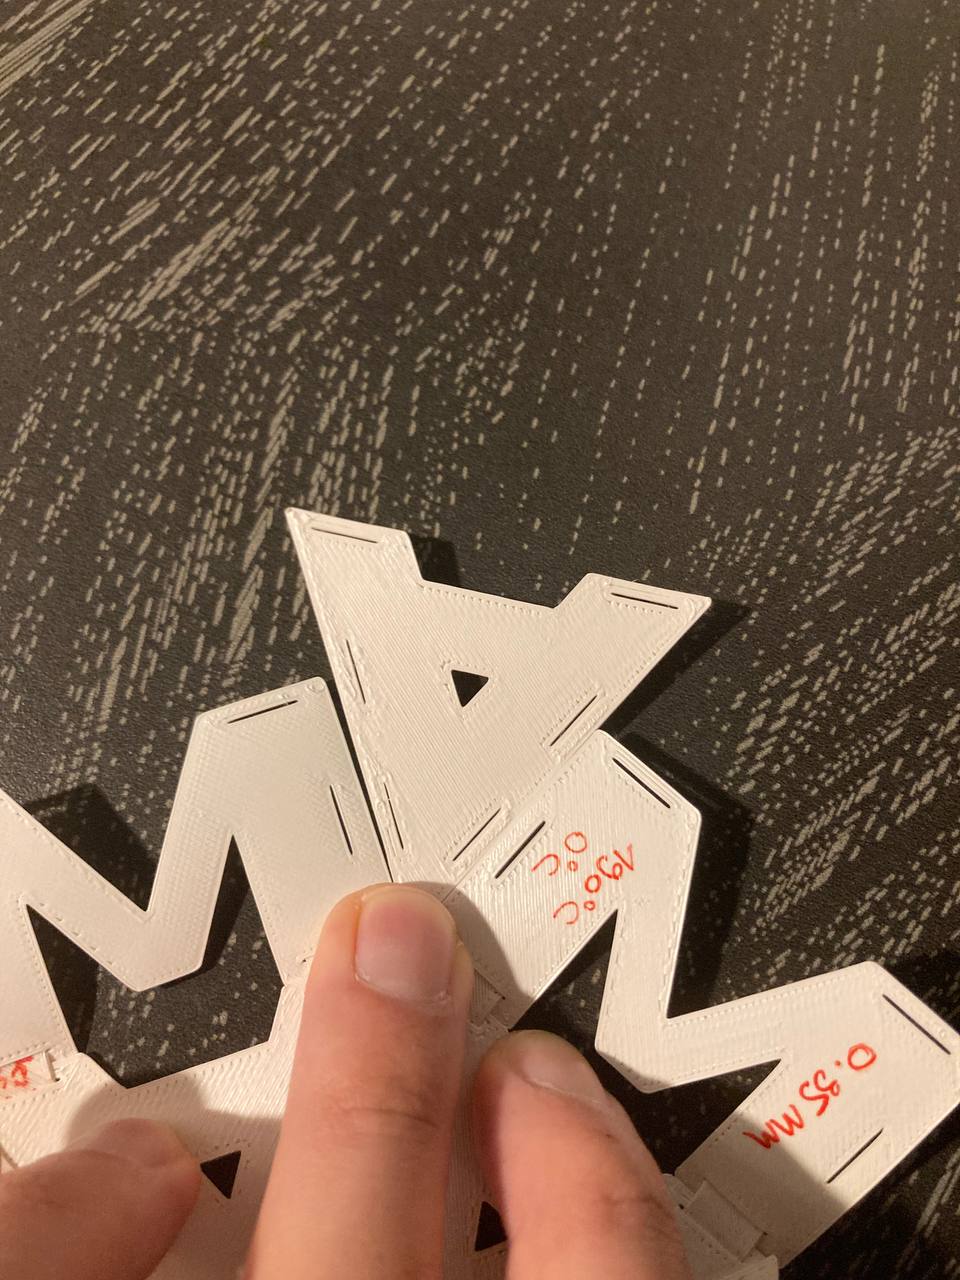
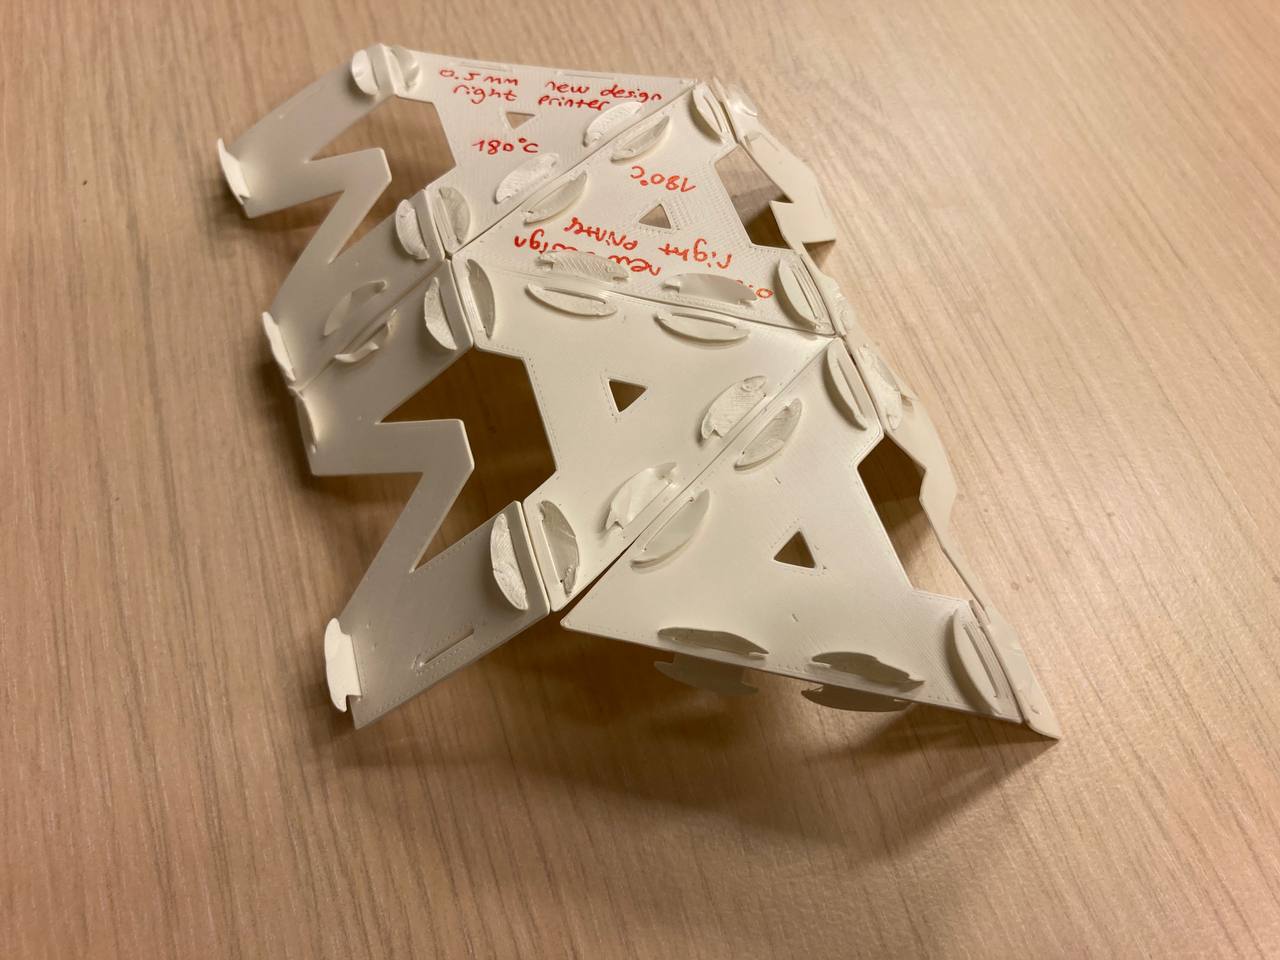
I tried with 190, 185 and 180, the results are visible in the images below:
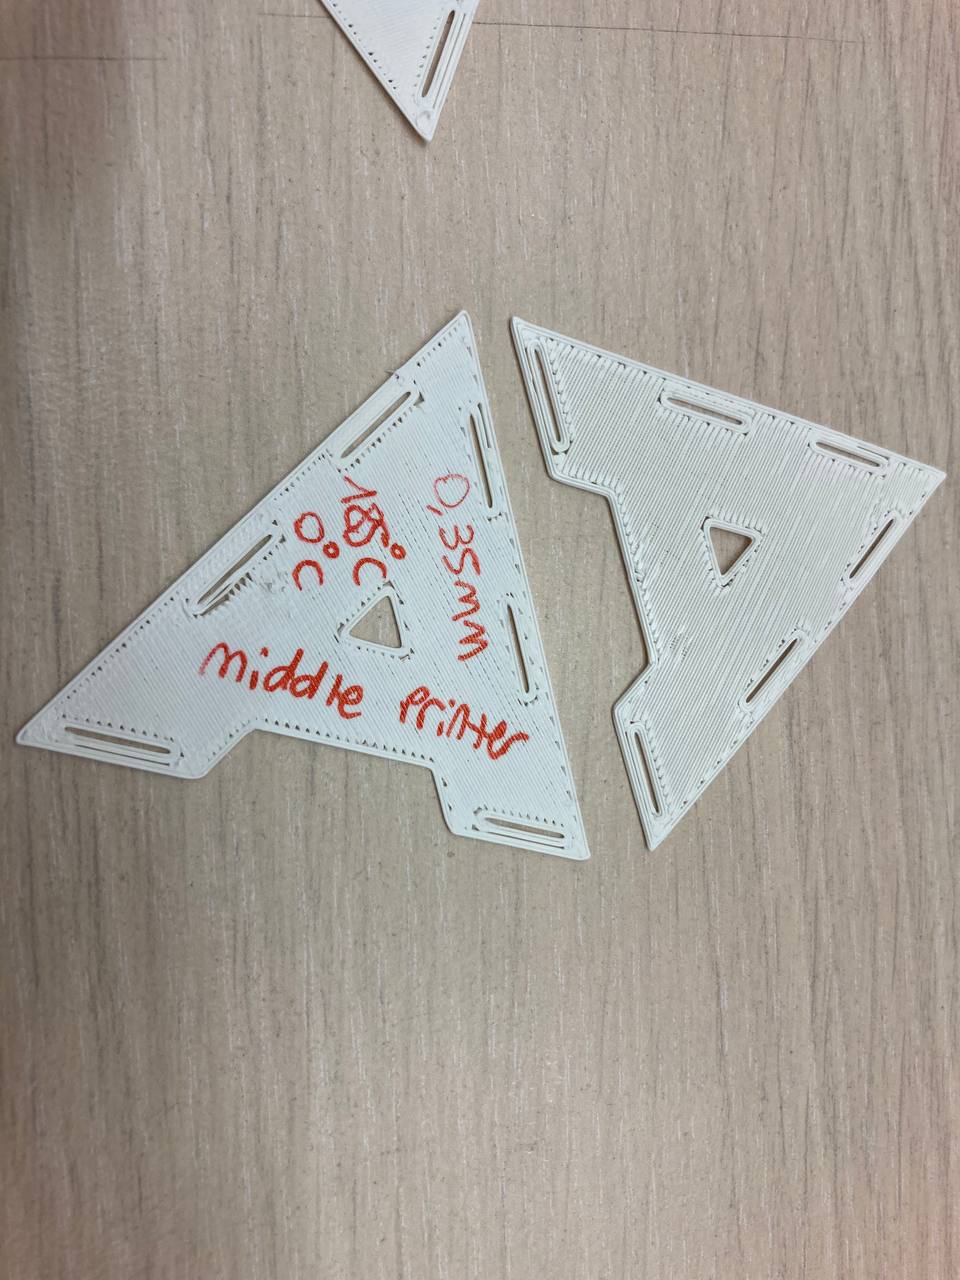
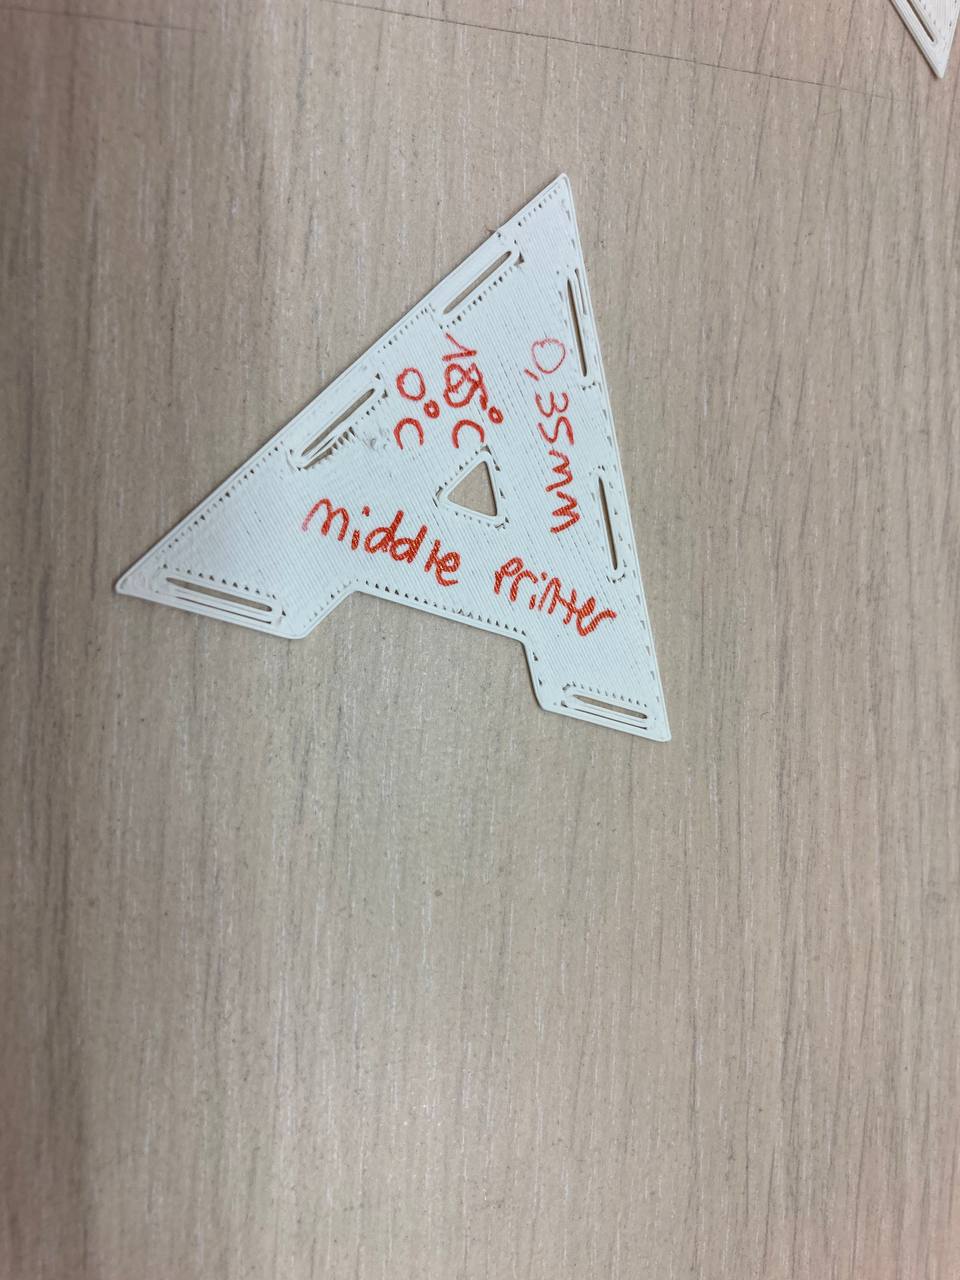
I was pretty happy with this first phase of the prototyping process, the link demonstrated to be perfectly dimensioned and very reliable.
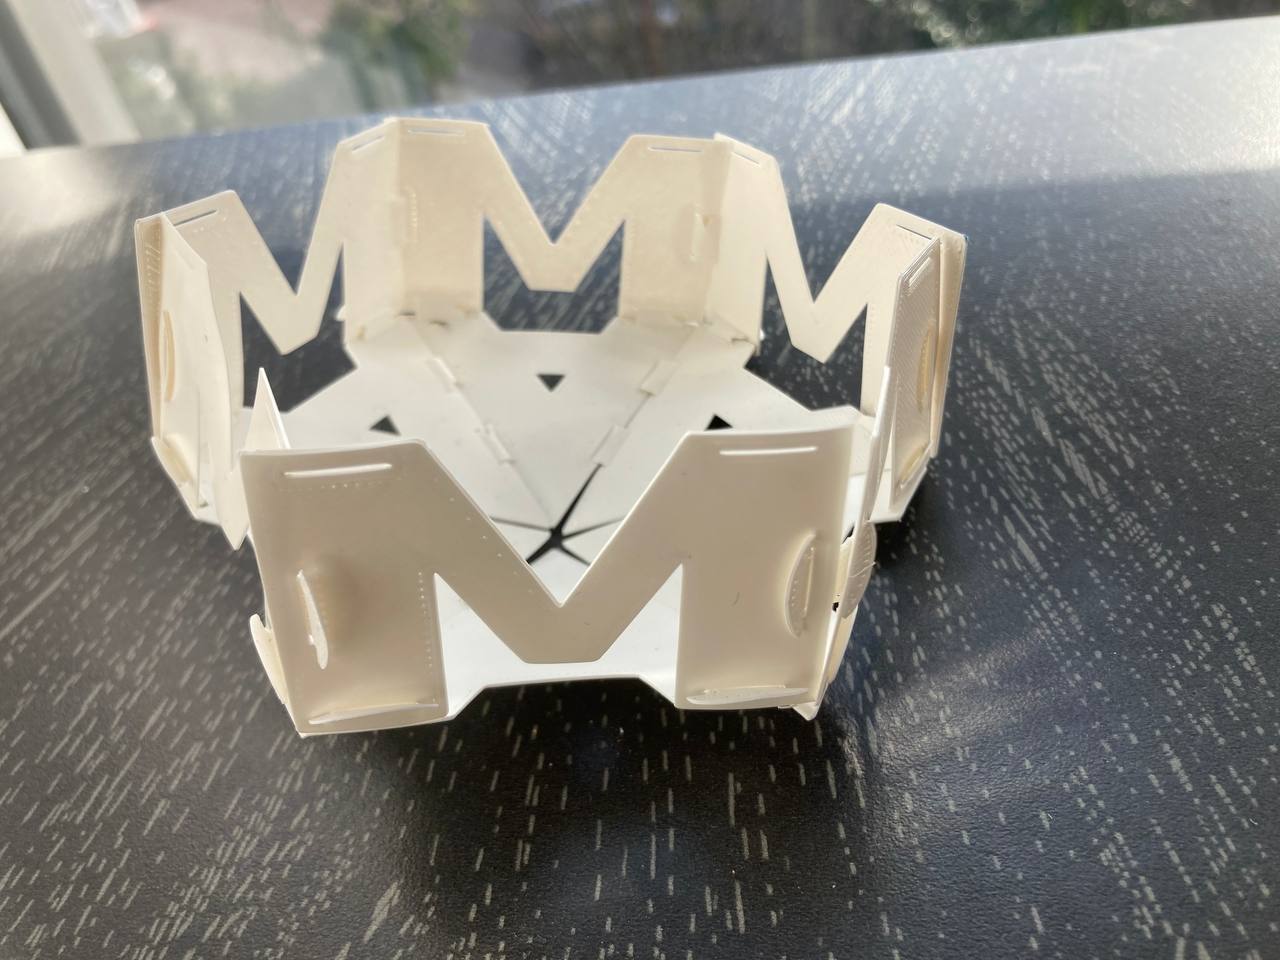
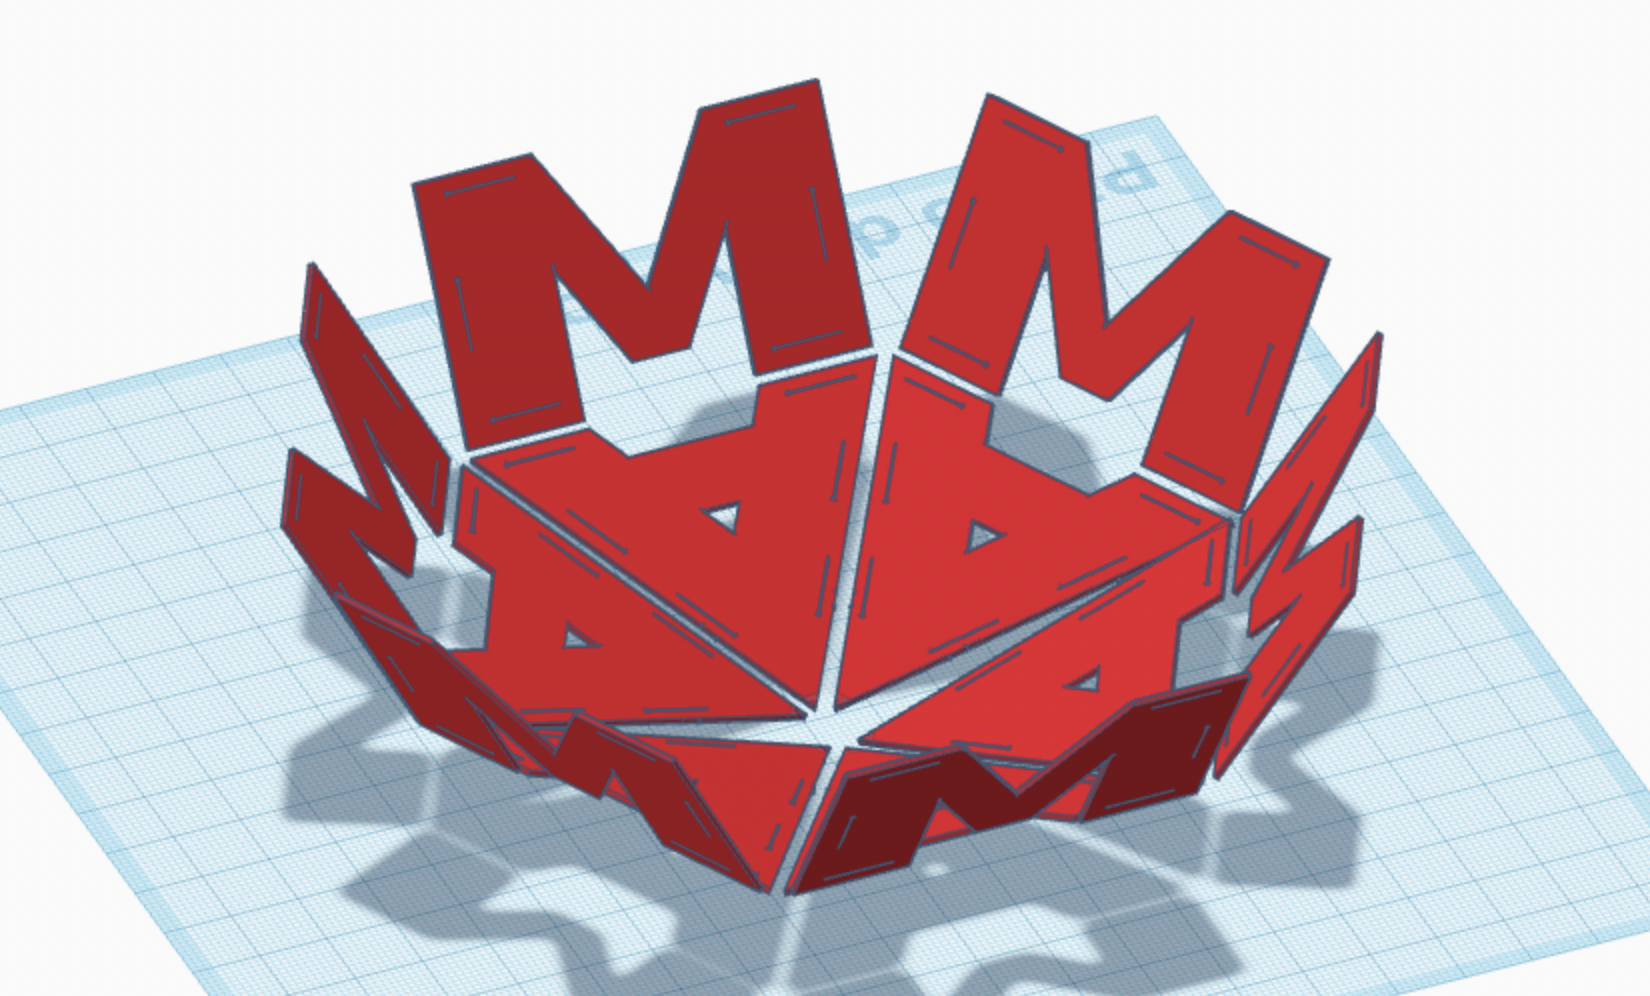
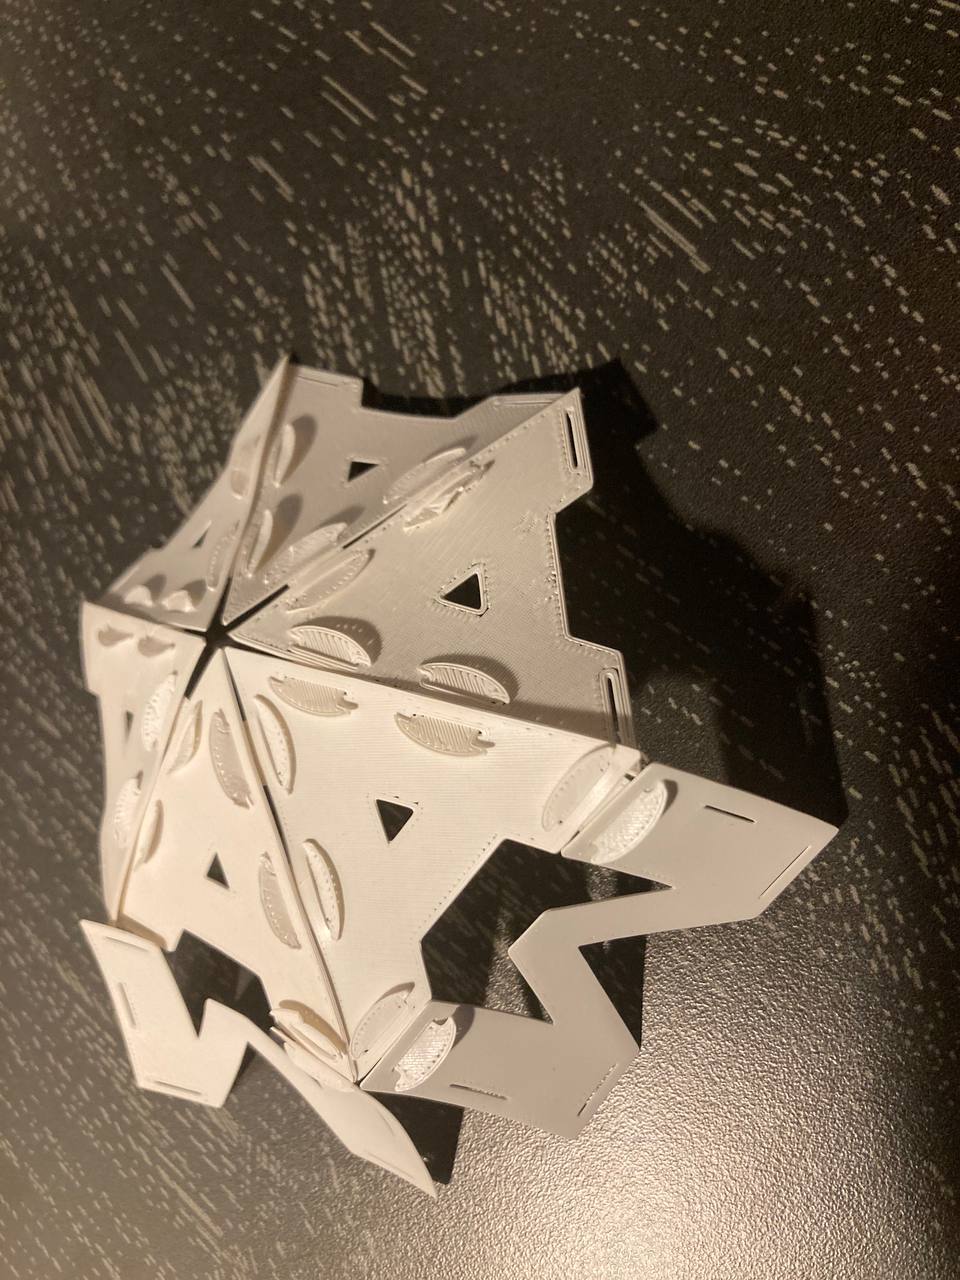
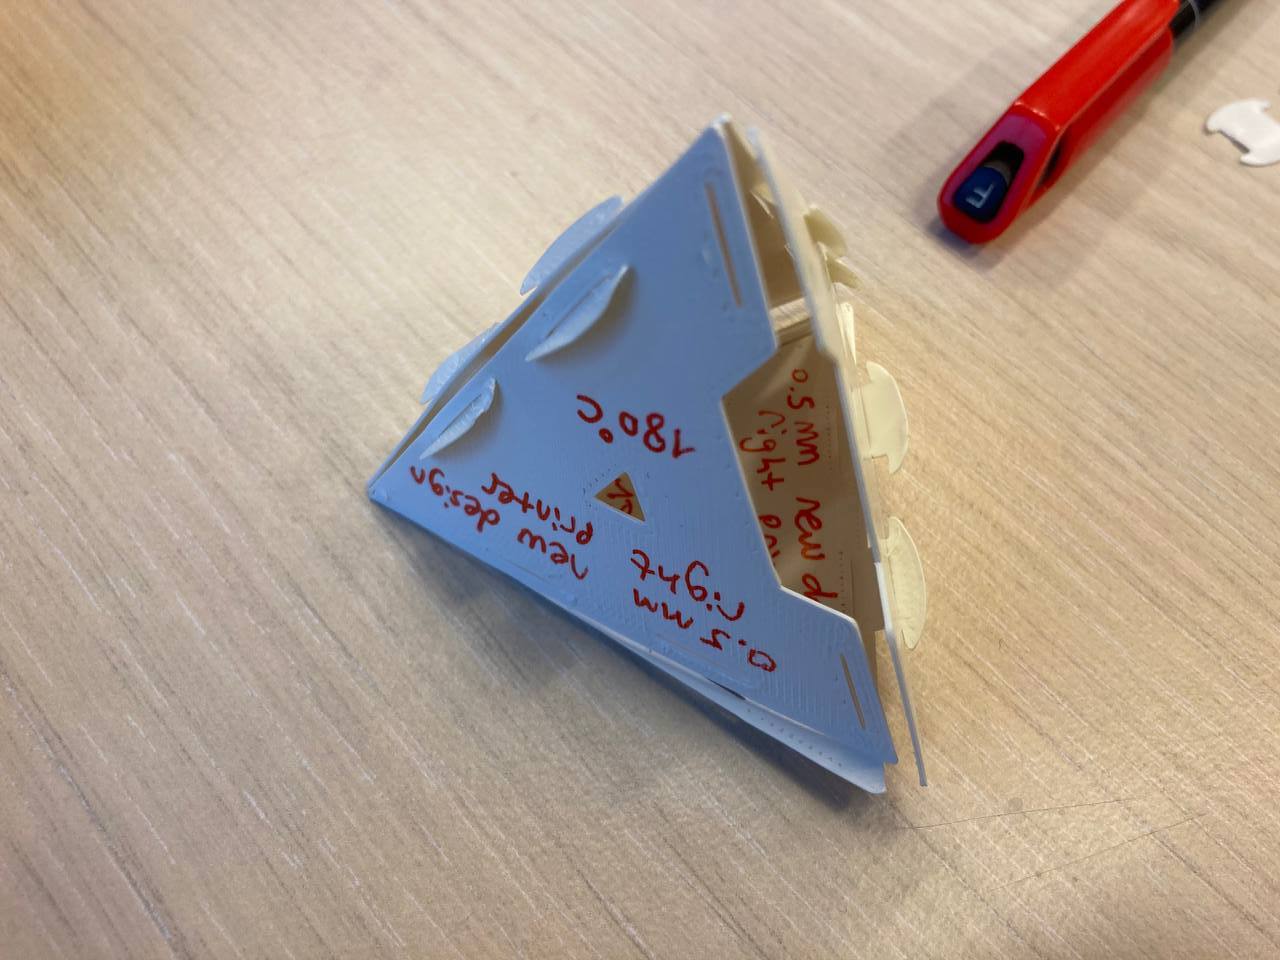
In the following pictures you can see the structure of the lower part of the bucket assembled:
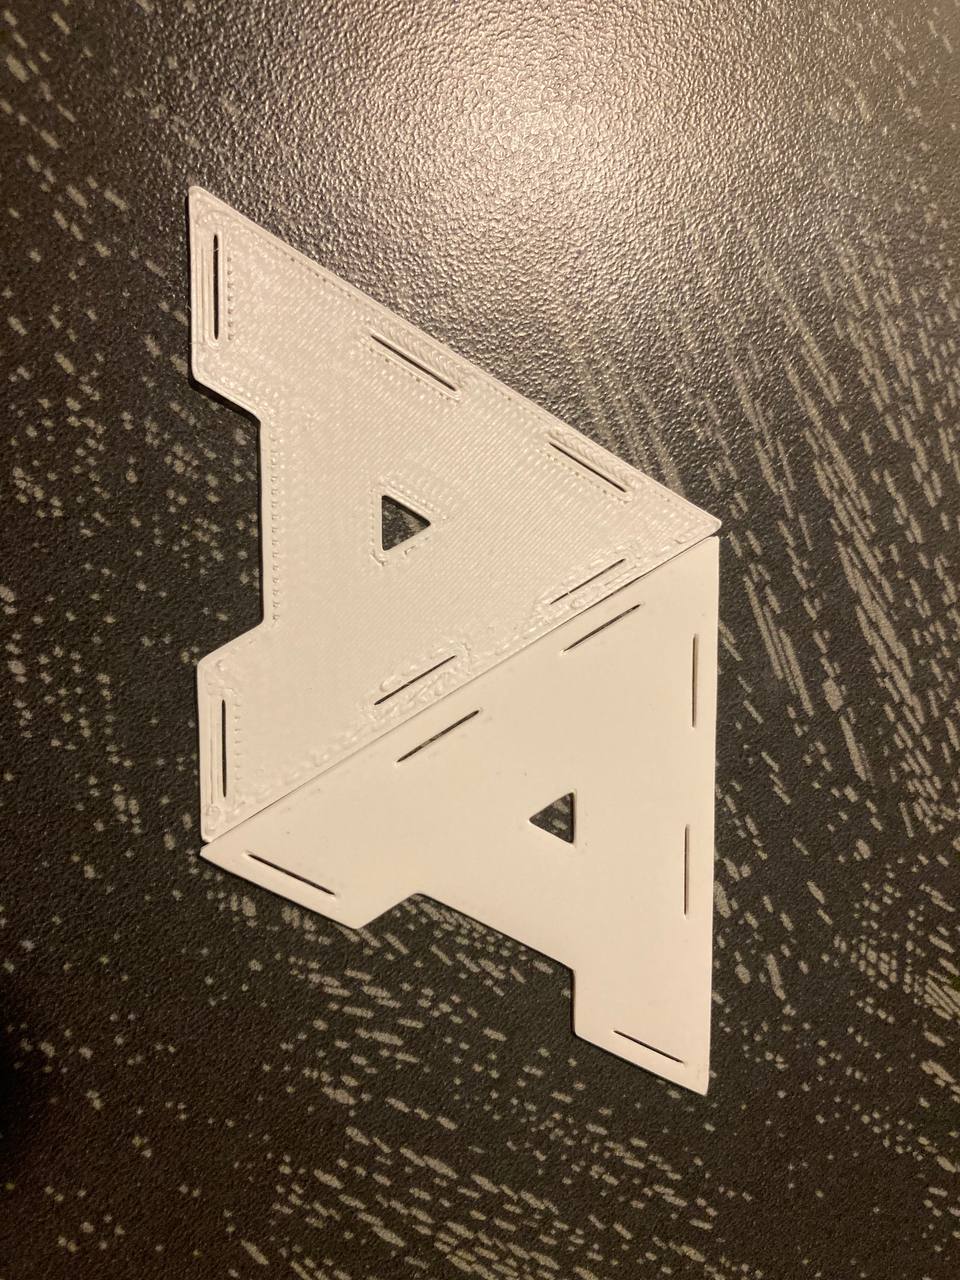
After messing up with the printed pieces I noticed that the A design could be improved making it "reversible" in order to create different structures when linked:
Plans for 2nd week
Improve the "A" design to make it "reversible".
2nd week
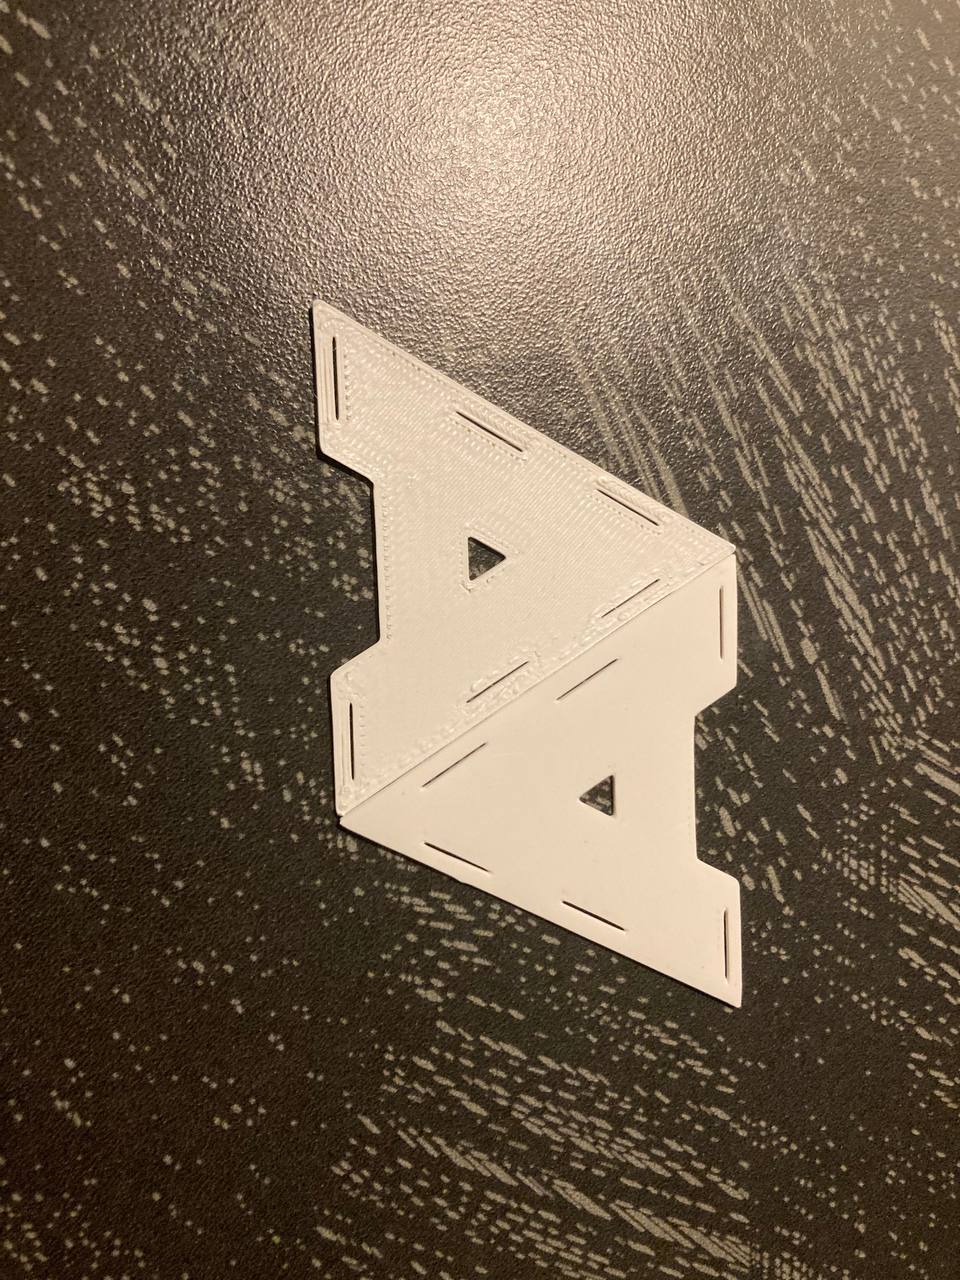
Design updates As planned, I updated the design of the letter "A" to be reversible, the new design is visible below:
Print updates
The printing process of the new model was pretty straight forward, and it worked as expected.

Plans for 3rd week
Study new designs and new ways to connect the modules
3rd week
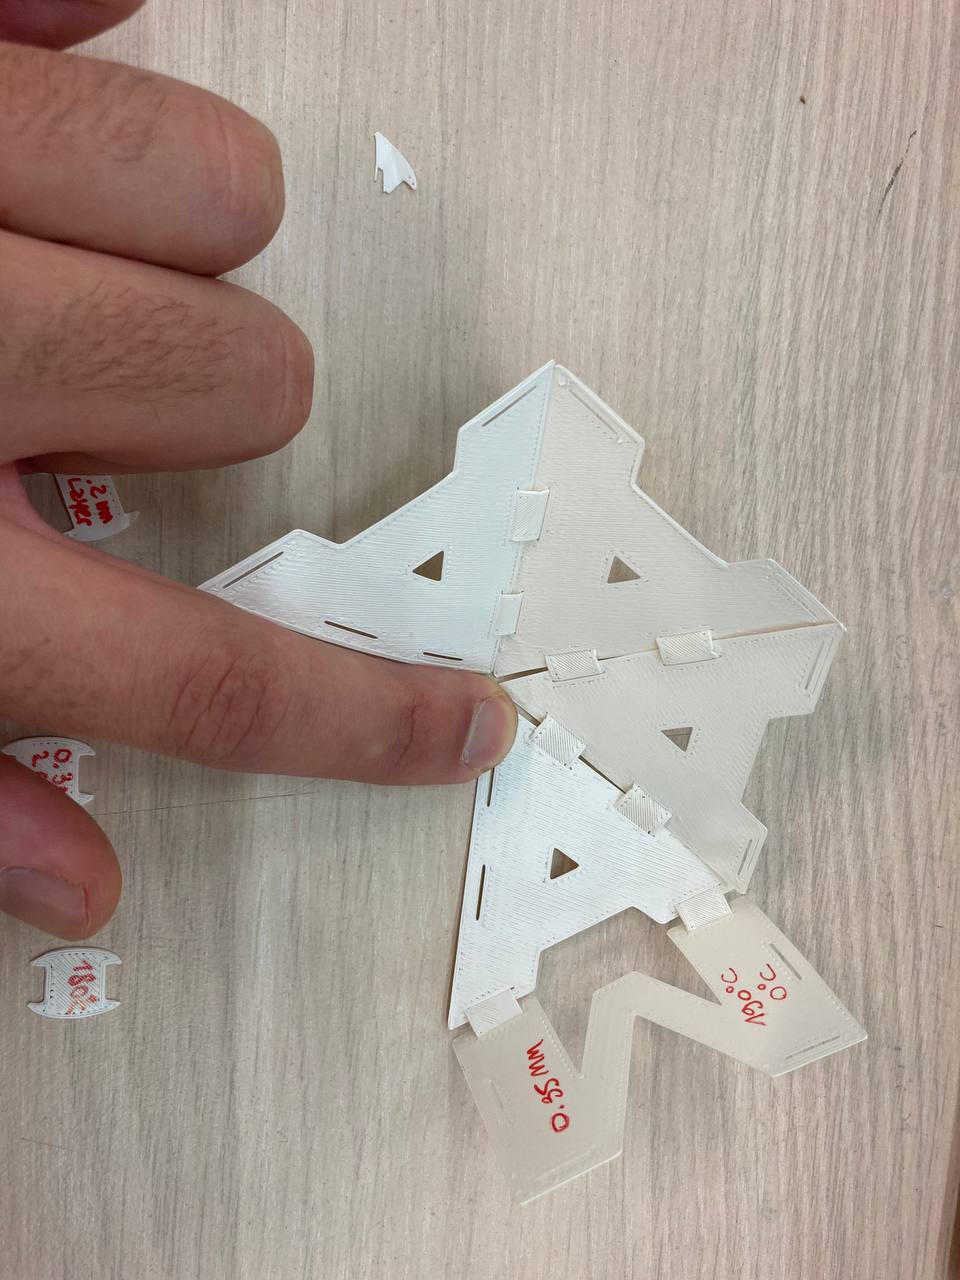
During this week I tried to imagine new ways to connect my modules to create new patterns and new shapes. A few of these experiments are visible in the images below:
Print updates
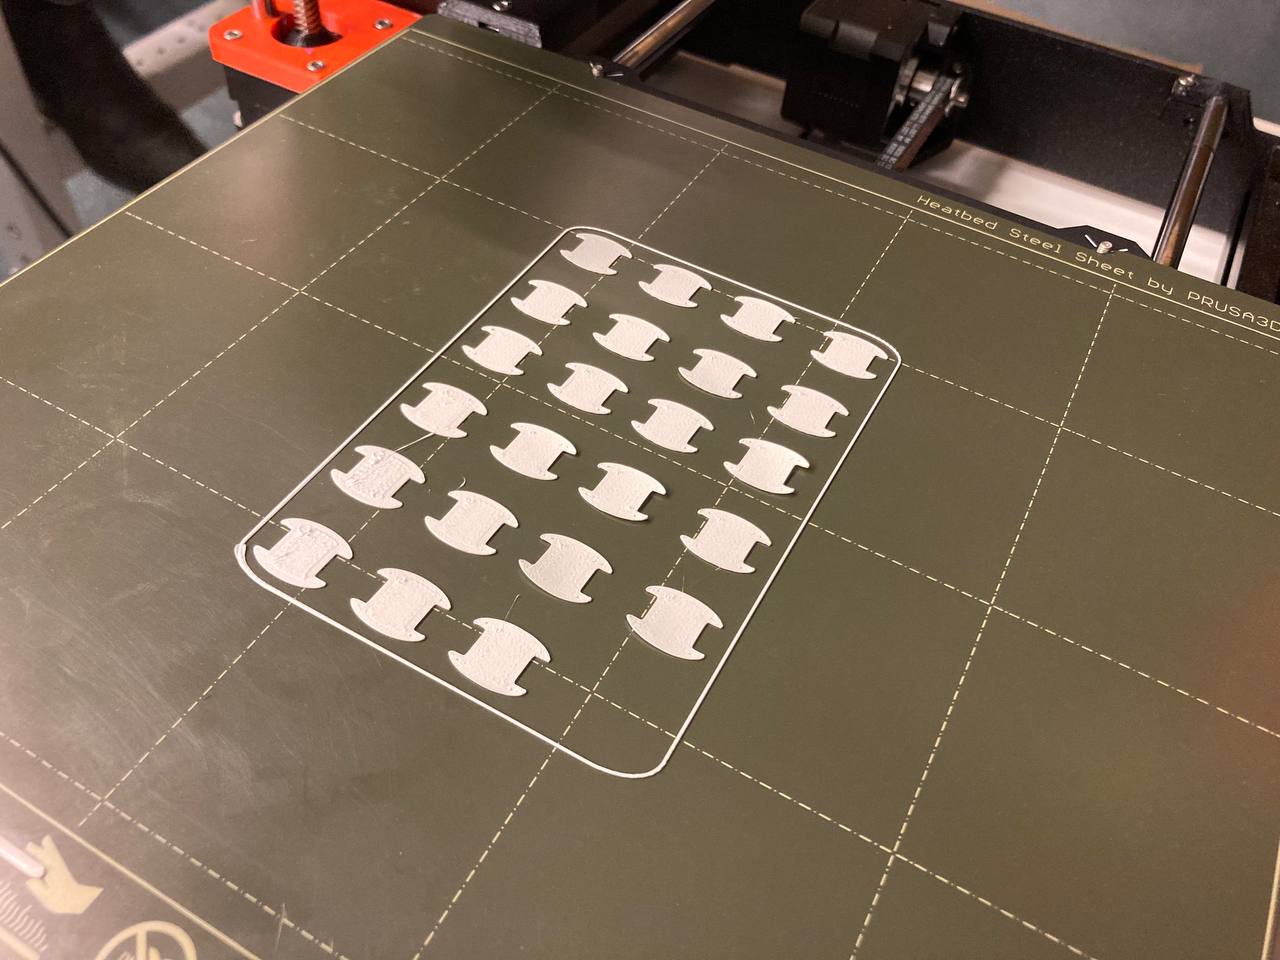
I didn't draw new shapes since I was pretty happy with the versatility of this design. Starting from this week I started printing the modules in batches.
4th week
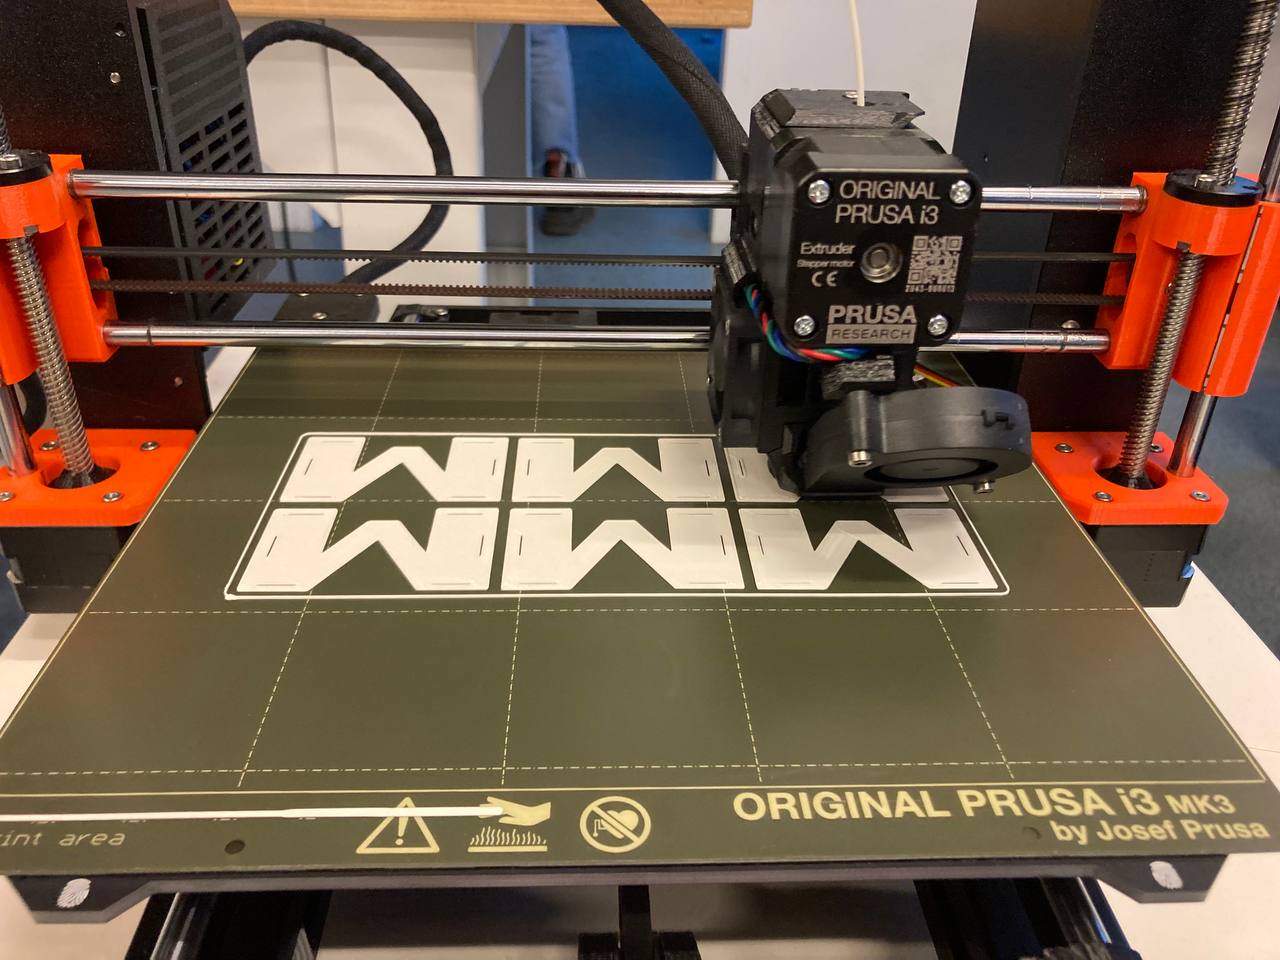
Again, printing time!
5th week
Experiment update
As planned, I wanted to check on the pieces that I previously buried under ground but here comes the terrible surprise:
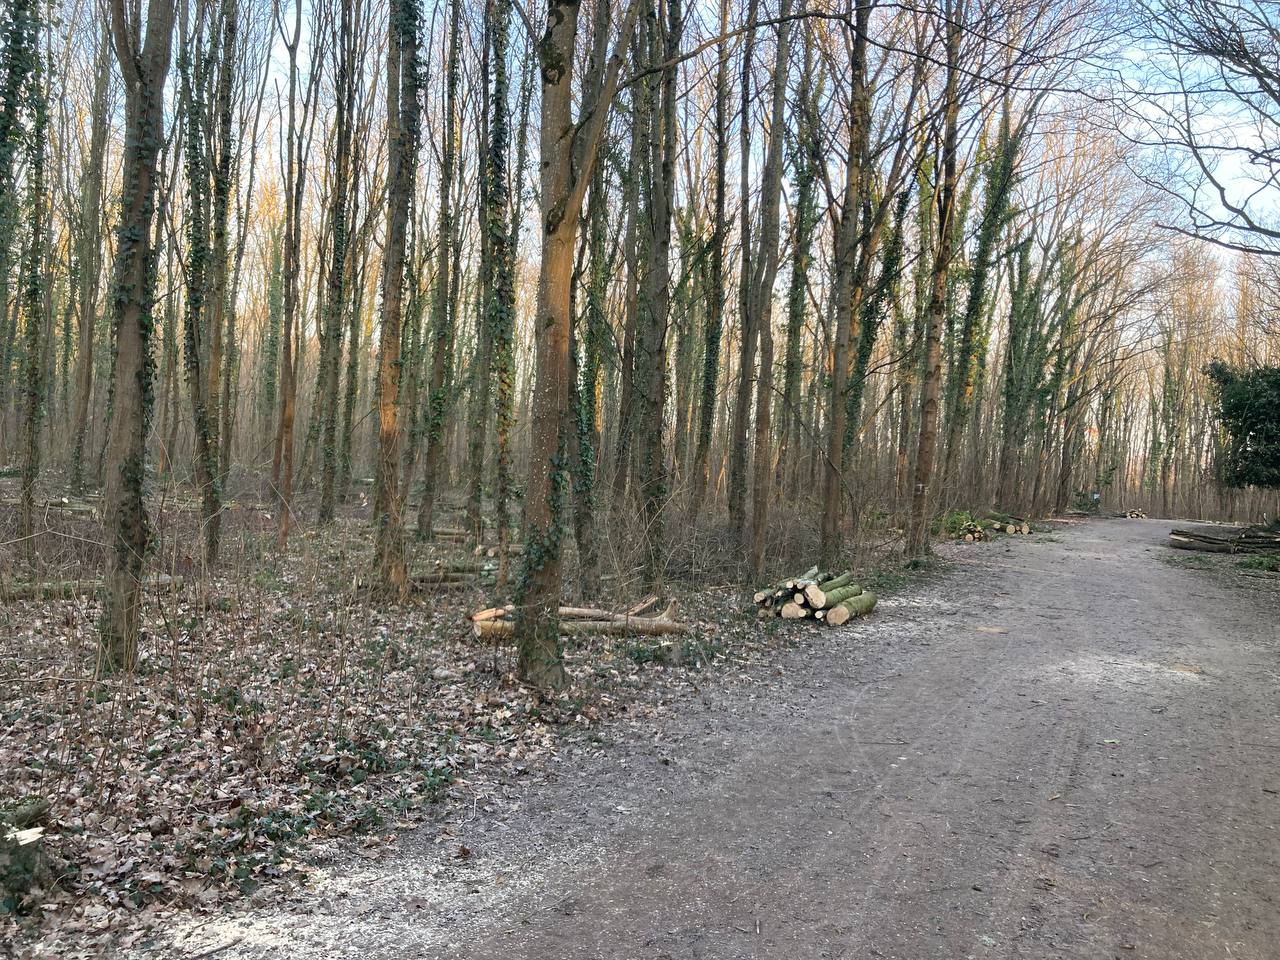
Apparently the lumberjacks came and chopped lots of trees in the woods. I placed the pieces under a tre that was easily recognisable since I didn't want to forget where I positioned them. Unfortunately that tree was chopped too and I lost the reference to the pieces position :( I hope I'll have more time in the next few days to go and search for them again.
Regarding the experiment in water, I don't register any noticeable degradation. the pieces are as stiff as the first day. The thing that I noticed is a "whiteish" patina on the glass that is most probably caused by the limestone contained in the tap water, but at the moment I can't exclude to be a super tiny layer of plastic lost by the printed pieces.
6th week
Design updates
I planned to assemble most of the modules during this week and I realized that the link design was a bit too tight with the increased thickness. The easiest and most effective solution was to change the design a little bit to make it easier to insert the link in the holes. Below you can see the new design:
7th week
This is the final week of this amazing course, time to assemble everything and present it to the professor and my course mates.
These are the designs that I plan to present to show the flexibility, adaptability, modularity and versatility of my design: